
How to Measure Curtains: A Designer’s Wall-First Method

How to measure curtains: measure the usable curtain rod or track width, identify whether your header is ordered by finished width or flat fabric width, then measure from the correct hanging point to your chosen hem position. Record the panel quantity and units before ordering. The window width alone is not your curtain order width.
How to Measure Curtains in 5 Steps
- Choose the rod or track position. If hardware is not installed, mark the proposed position and check wall space, molding and bracket clearance.
- Measure the usable rod or track width. Measure the span your curtains need to cover, excluding decorative finials. Also record the outside window-frame width and available wall space on each side.
- Choose your header and panel quantity. EaseEase pre-pleated headers already include fullness; flat-width headers need a fullness calculation. See the header width table.
- Measure curtain length at the left, center and right. Use the measuring reference for your selected header and hardware. For a level hem that clears an uneven floor, work from the shortest drop and your chosen floor clearance.
- Check the order fields. Use the Curtain Measurement Finder to work through sizing, then transfer the result to the selected product’s width, length, panel or pair, and quantity fields.
Bring: a steel tape measure, a pencil, your hardware specifications and a photo of the whole window wall. Keep raw measurements separate from calculated order dimensions.
How to Measure Curtain Width: Finished vs. Flat Width
Pre-pleated curtains already include fullness — do not multiply twice
For EaseEase Pleat Header, Ripple Fold and French-style Ruffled Top curtains, fullness is built in. You order the required coverage width according to the product’s panel or pair setting. Do not multiply that finished width by 2 or 2.5 again.
For example, a 100-inch rod with two equal pinch-pleat panels normally calls for two 50-inch-wide panels, not two 100-inch panels. The extra fabric used to form the sewn pleats is already included.
| EaseEase header | What order width means | How to calculate equal panels |
|---|---|---|
| Pinch pleat / sewn pleated header | Finished panel width with the pleats sewn in, measured across the extended heading, not the stacked bundle. | Required coverage ÷ panel count. Fullness is included. |
| Ripple fold | Finished coverage with the waves formed, not fabric pulled flat. The track, carriers and snap tape must match. | Required track coverage ÷ panel count if ordering individual panels. For a pair option, follow the product’s combined-width instructions. |
| French-style Ruffled Top | EaseEase includes the gathering allowance for this header. | Use the finished coverage and panel or pair instructions shown for the selected product; do not add another fullness multiplier. |
| Grommet, back tab, rod pocket or tab top | Fully extended, flat panel width before gathering on the rod. | Rod span × chosen fullness ÷ panel count. The tool recommends about 1.5–2×, with 2× a fuller starting point. |
Fullness describes fabric volume; coverage describes the span covered when closed. Keep these two measurements separate.
Curtain Measurement Examples: One Rod, Different Order Widths
These examples use a 100-inch (254 cm) usable rod or track and two equal panels. They show why the header matters more than a universal “double the width” rule.
| Header and choice | Calculation | Width for each panel |
|---|---|---|
| Pinch pleat, built-in fullness | 100 ÷ 2 | 50 inches (127 cm) |
| Ripple fold, individual-panel ordering | 100 ÷ 2 | 50 inches (127 cm) of finished wave coverage |
| Grommet / soft top, 1.5× fullness | 100 × 1.5 ÷ 2 | 75 inches (190.5 cm), measured flat |
| Grommet / soft top, 2× fullness | 100 × 2 ÷ 2 | 100 inches (254 cm), measured flat |
Pair-setting check: if the selected product asks for total pair width rather than per-panel width, the two pleated panels above represent a 100-inch pair. Do not enter 50 inches as the total pair width, or select two pairs when you want two panels.
Length example: measure the drop, then subtract clearance once
Suppose the distance from the confirmed measuring reference to the floor is 96 inches at the left, 95.75 inches at the center and 96.125 inches at the right. For an even hem that clears the highest part of the floor by 0.5 inch, use the shortest drop:
95.75 − 0.5 = 95.25 inches (241.935 cm, approximately 241.94 cm).
This example assumes the top reference has already accounted for the hardware. If your raw measurement was ceiling-to-floor instead, first establish the correct hanging reference. Check the product’s available increments and rounding instructions before entering the order.
Conversion rule: 1 inch = exactly 2.54 cm. Multiply inches by 2.54; divide centimeters by 2.54. Keep the calculation precise and round only when the order field requires it. Never type a centimeter value into a field labeled inches.
Design Recommendations vs. Required Order Rules
| Design recommendations: adapt to the room | Order rules: follow the selected product |
|---|---|
| Plan roughly 8–12 inches (20.32–30.48 cm) of rod extension on each side where space permits. This can help stacked curtains clear the glass; bulky panels may need more. | Measure the actual chosen usable span. Do not add the planned extensions a second time to an installed rod measurement. |
| Higher mounting can make a window look taller. Crown molding, ceiling clearance, wall construction and brackets affect what is possible. | Use a secure mounting position and the header’s correct length reference. The bottom of molding is a planning line, not a universal fabric-top reference. |
| Choose 1.5× or 2× fullness for flat-width headers according to the look, fabric and operation you prefer. | Do not multiply finished-width pre-pleated orders again. Verify panel vs. pair, units and quantity. |
| Choose a floating, kissing or longer hem to suit the room and daily use. | Apply hardware and floor allowances only once. Record the intended hem position and all three drop measurements. |
The EaseEase Wall-First Method: Three Numbers and Two Design Rules
Our wall-first approach: when hardware is not installed, plan the curtain against the whole wall before choosing its width and length. Record the outside frame width, usable wall on each side and the vertical drop from a clearly marked planning line. When hardware is already installed, use its actual span and the selected header’s measuring reference.


Measuring Width: Set the Rod, Then the Fabric, Then Check Coverage
Step 1 — Measure the outside window-frame width (W). Include the molding. Check at the top, middle and bottom and record the largest width. This planning measurement is different from the bare glass opening and from your curtain order width.
Step 2 — Measure usable wall space on each side. Measure from the outer frame edge to a corner, cabinet or other obstruction. Record left and right separately; these dimensions limit rod extension and the room available for stacked fabric.
Step 3 — Set the rod or track length.
EaseEase design recommendation: plan 8–12 inches (about 20–30 cm) of rod or track extension on each side of the outside frame, where space permits. Planned span = W + left extension + right extension. If the rod is already installed, measure the usable span once; do not add the extensions again.
-
- 8–12 inches (about 20–30 cm) per side — our recommended planning range. Verify how much of the glass the open panels will actually clear.
- For large windows or bulky panels, check stack-back before finalizing the span. If the available wall is too narrow, ask for a layout suited to that window.
Step 4 — Calculate total fabric width.
EaseEase fullness standard: for flat-width headers, total fabric width = rod length × chosen fullness (2.0× is our default design recommendation).
-
- 1.5× gives a more tailored look; 2× gives fuller folds. For headers ordered by flat fabric width, 2× is our usual design starting point, rather than a requirement for every curtain.
- 2.2–2.5× can suit some flat-width sheers or a more generous look, subject to the selected fabric and header. Do not add this multiplier to a finished-width order that already includes fullness.
- EaseEase pleated headers, ripple fold and French-style Ruffled Top already include their fullness. Give us the rod length and the panel count — don't multiply again. This is the single most common double-counting error we see.
Before finalizing a blackout layout: also check the closed-panel coverage and side returns. Rod span and fabric fullness alone do not determine room darkness.
How to Measure Curtain Length: Molding and Hardware
Design first, order dimensions second. Use the ceiling or the bottom of crown molding as a visual planning line. Then confirm a secure mounting location, bracket clearance and the correct top reference for the selected header. A planning line is not automatically the point where the finished curtain begins.
Curtain length depends on where the fabric or specified carrier reference starts. For EaseEase pleated panels, ordered length is top of fabric to hem; the ripple-fold guide uses the specified track hook reference. The grommet and soft-top guide uses the top of the rod. Confirm the selected header diagram before calculating.
Design option 1 — With molding, use its bottom edge as your planning line.
Aligning the curtain near the lower edge of crown molding can make the wall look clean and intentional. Place brackets on a suitable, securely supported surface and allow for their actual position below that line. Window trim, ceiling trim and bracket dimensions may require a different mounting position.
This preserves the molding as a horizontal design line while letting the curtain create a long vertical line. Check the support behind the bracket rather than assuming decorative molding can carry the load.
Record H: measure straight down from the chosen molding planning line to the floor at the left, center and right. Label these as planning measurements. Convert them to an order length using the actual hardware offset described below.

Design option 2 — Without molding, use the ceiling as your planning line.
A ceiling track can create a tall, continuous curtain line. For a wall-mounted rod, its height below the ceiling depends on bracket and ring clearance. An offset such as 1.5–2 inches (3.81–5.08 cm) is an example to check against your hardware, not a universal deduction.
Record H: measure ceiling-to-floor at the left, center and right. For a level hem that must clear the floor, work from the shortest drop. Keep the other readings so the designer can assess unevenness.

The wall-first method gives you a clear starting point before the rod is installed. Your final mounting position still depends on the room and hardware. The design principle remains: a higher fabric line can make the room read taller. See our small-window curtain guide for the visual effect.
Convert planning height into finished curtain length.
H = chosen planning line to floor; D = total vertical offset from that same line to the selected header’s measuring reference; C = chosen floor clearance.
From a planning measurement: order length = H − D − C. D must include every offset between the planning line and the correct starting point: for example, ceiling-to-rod placement plus the actual ring/hook arrangement. If D were 3.5 inches, that would equal 8.89 cm; measure it rather than assuming it.
From the correct measuring reference directly: order length = measured drop − C. The hardware is already accounted for, so do not subtract D again. If you measure directly to the intended hem position, do not subtract C again either.
Choose how the hem meets the floor: for a floating hem, C is the positive clearance—about ½ inch (1.27 cm) is our practical starting point. For a floor kiss, C = 0. For a break or puddle, first calculate the floor-reaching length H − D, then add the intended extra: around 1 inch (2.54 cm) for a break or 3–6 inches (7.62–15.24 cm) for a decorative puddle. Heavy, blackout-lined curtains are less suitable for puddling and daily operation. These are finish choices, not automatic order deductions.
The illustration below shows hardware allowances. Use the dimensions and reference point of your actual installation.

Checkout EaseEase Curtain Rods & Tracks


Why Curtains Go Wrong: Measuring Mistakes in Real Homes
Mounting position affects both fit and the visual scale of a window. Our Curtains for Small Windows guide explains the styling; the examples below show why the measuring decisions come first.

We've looked at a lot of customer photos over the years, and the failures repeat. Here are five common mistakes, so you can check yourself against them:
Mistake 1: Choosing rod height from the frame alone. A rod only 1–2 inches (about 2.5–5 cm) above the frame can visually shorten the wall. A higher installation can create a taller effect, but ceiling clearance, molding and secure supports decide what is possible.
Mistake 2: Planning coverage from the window width alone. For a 60-inch (152.4 cm) window with a 60-inch rod, an illustrative stack of 16–20 inches (40.64–50.8 cm) would cover about 27%–33% of the opening width. That is not a measured percentage of daylight loss. Check the chosen fabric’s stack-back and available wall space.

Mistake 3: Accepting a stock length without checking the drop. Common ready-made lengths include 63, 84, 96, 108 and 120 inches. A panel that stops short or heaps on the floor may not suit your planned finish; use the actual hanging reference and hem position.

Mistake 4: Measuring sill-to-floor. This misses the planned curtain top and the hardware relationship. Measure from the selected header’s specified reference, or convert a labeled planning drop using the full offset. Ring and hook dimensions vary.
Mistake 5: Measuring once. Take left, center and right drops. For a level hem that must clear an uneven floor, use the shortest drop and your chosen clearance; a floor-kissing or deliberately longer finish needs its own assessment.
Uneven hems, shrinkage and side light can have different causes. Record the original measurements, check the hardware and fabric care instructions, and assess the closed curtain position before deciding that more width or length is the answer.
What the Wall-First Method Adds
Rod-based guides are useful once the hardware exists. Before installation, you also need to choose a feasible mounting line, allow for molding and check the wall available for stacked fabric. That is where our wall-first method helps.
Separate the visual plan from the light-control plan. A wider rod can let panels clear the glass when open; effective blackout depends on where the fabric sits when closed. These related checks answer different questions.
Blackout Coverage: Separate the Look From the Light Control
EaseEase design guidance: the overlap figures below are our planning recommendations for light control, not additions to make automatically to every order width. Actual blackout depends on the closed fabric position, side returns, top gaps, lining and fabric.
Blackout check — inspect the closed curtain, not just the rod.
EaseEase coverage recommendation:
-
- plan 8–12 inches (about 20–30 cm) of closed fabric coverage beyond each outside frame edge, where the wall and hardware permit.
- For bedrooms, nurseries and media rooms, consider the upper end of that range and check side returns, top coverage and the center meeting point.
Light can enter around a panel edge at an angle, creating a bright stripe even when the fabric blocks light well. More wall overlap and a smaller fabric-to-wall gap can help. No single overlap or gap dimension guarantees complete room blackout. Check the actual closed panels, including the top and center, under the light conditions that matter in the room.
If side-wall space is limited, consider an ultra-thin ceiling track or a rod with side returns. Returning the outer fabric edge toward the wall can reduce the side light path. Plan the return with the chosen hardware and confirm any extra coverage with the designer.
EaseEase ultra-thin curtain track for big windows


EaseEase french return rod for small windows

Workroom Insight: Why Sliding Doors Need a Heavyweight Face Fabric
One workroom detail can matter more on a sliding glass door than on a standard window: how far the blackout lining extends toward the face-fabric hem.
In a short-lining construction, the blackout lining is a separate layer that finishes above the face-fabric hem. This lets the layers move independently and hides the lining edge. The exact drop and hem arrangement depend on the product and workroom; ask how your selected curtain is made.
The important check is the area not covered by blackout lining. Do not infer its height by adding a folded-hem depth to a lining allowance: they describe different parts of the construction, and the folded hem itself contains multiple fabric layers. The video shows a real lining example; confirm the dimensions for your order.
See our video for a more visual demonstration
Below a standard window sill, that unlined area may hang against solid wall, so there may be no bright glass directly behind it.
A sliding glass door brings glass close to floor level. If an area above the curtain hem has no blackout lining behind it, light may show through the face fabric there. This explains why a curtain can look dark overall but still have a brighter band near the bottom.
Example of What to Avoid

Our selection advice for a dark bedroom with a sliding door: choose an appropriately opaque, heavyweight face fabric and confirm the lining drop as well as side, top and bottom coverage. A strong lining cannot block light in an area it does not cover.
If the selected face fabric has a tested opacity target of 90% or more, treat that as a material-selection target. It is not proof that the unlined area, entire panel or installed window will block 100% of light.


How to test a sample: hold a single layer against strong daylight and compare the visible glow, bright patches and window-frame outline. This helps compare fabrics under the same conditions; it cannot establish a numerical opacity rating. Use product specifications or test data for percentages, and assess the face fabric and intended lining together.
Read <How to Evaluate the Quality of Curtains by Swatches>

If you already chose a lightweight or medium-weight face fabric, discuss a longer lining with the workroom, including how it affects the hem and drape. A separate blackout shade can provide another light-control layer where the door clearance and installation allow it. For some projects, choosing a heavier face fabric is the simpler option.
Do not rely on puddling to solve a bottom light gap. Heavy, lined panels may bunch on the floor, collect dust and become harder to draw. Choose the hem finish for appearance and operation; address light control through the fabric, lining construction and coverage.
Measuring Right Only Pays Off With the Right Fabric
Measuring establishes fit; fabric determines much of the drape. Even at the same fullness, a lightweight fabric and a heavyweight linen blend can fall differently. Compare weight, weave and lining with samples so the folds and stack suit the room.
EaseEase offers custom curtain sizing, free fabric samples and design guidance. Use these together: confirm the installation plan, compare materials in your room, then enter the dimensions for the selected header.
1. Free design guidance — check the plan before ordering. Send a whole-wall photo, window dimensions, side-wall space, hardware details and your privacy and light-control needs. We can review the mounting plan and sizing with you. The optional MeasureFit Guarantee offers additional protection for measuring errors; review the current terms before adding it.


2. Free samples — check the fabric in your own light. Compare single-layer transmission, pinch the sample into folds and view its color in daylight and evening lighting. A small swatch helps you judge materials, while a finished curtain’s appearance also depends on size, lining and installation.

3. Custom sizing — specify the fit your wall needs. Match the usable rod or track coverage, chosen header and confirmed length instead of forcing the plan into the nearest stock size.

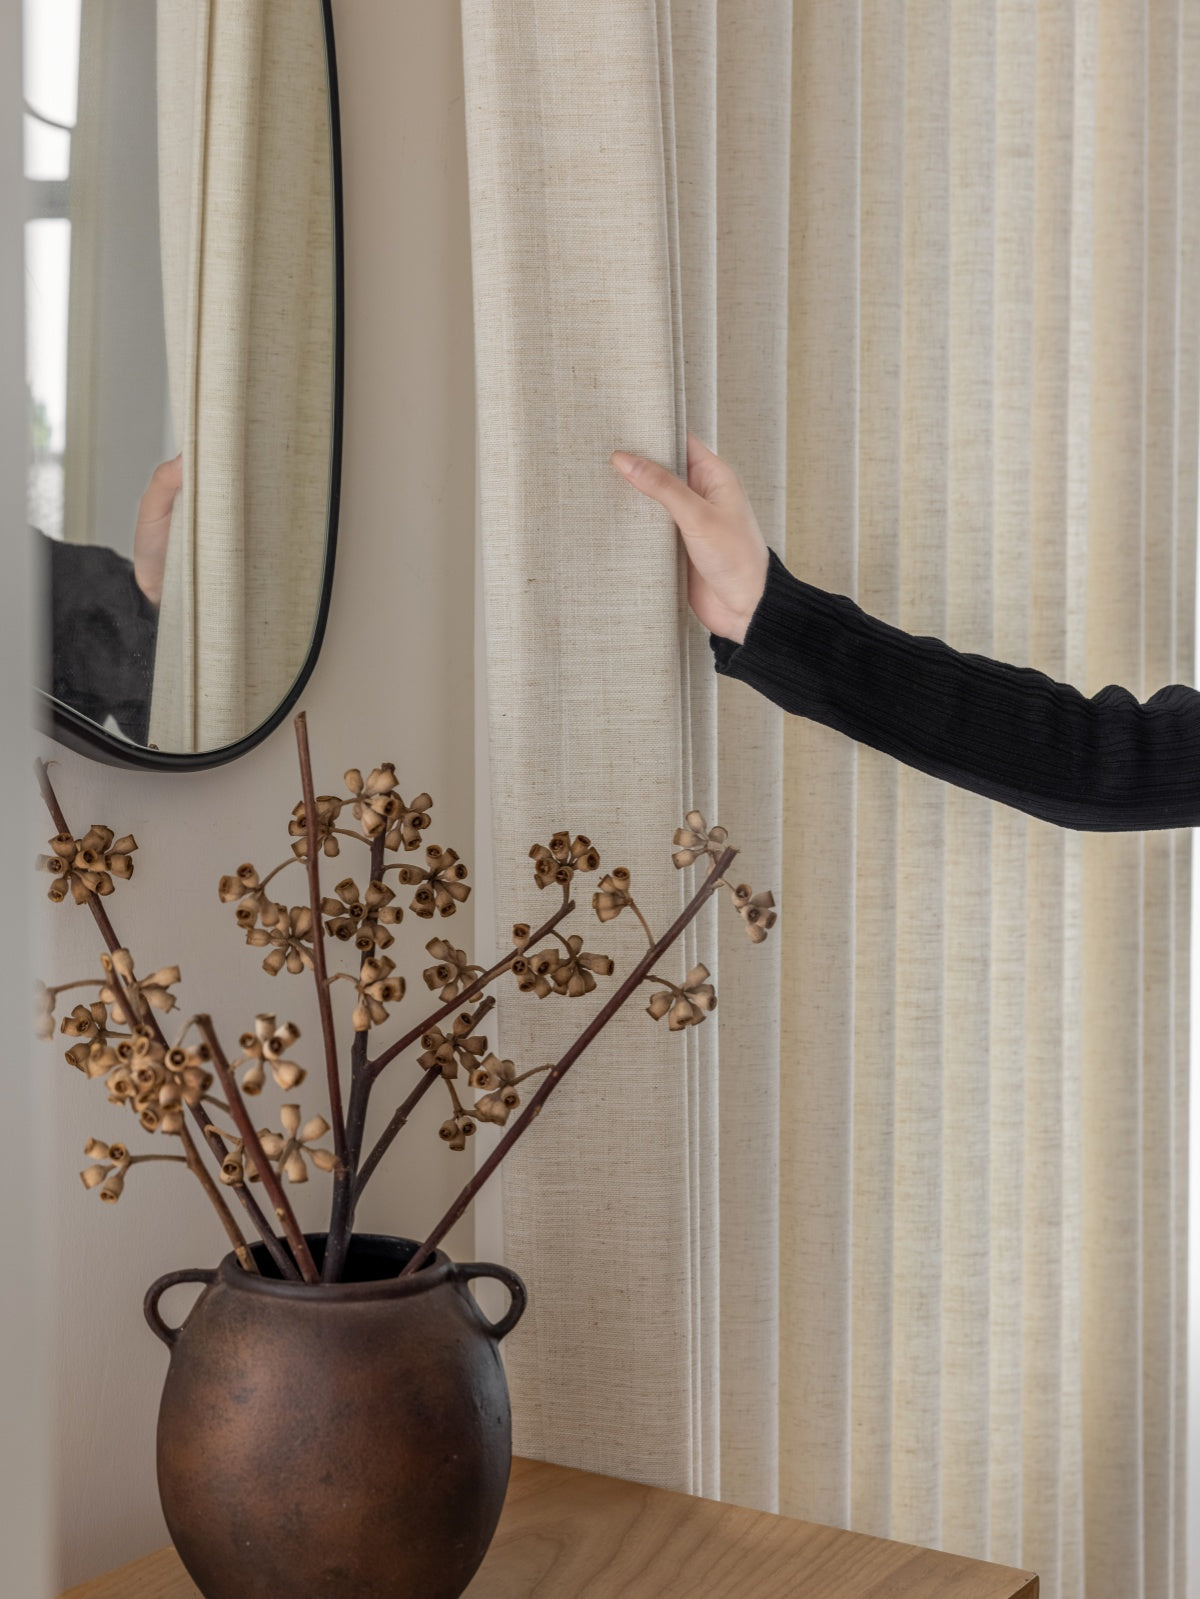

Pairing recommendations by room:
- Bedroom / nursery, standard window: linen face fabric + 100% Blockout Lining (260 gsm Italian flocked lining; check care and construction details in our lining guide). Plan the mounting line around the ceiling or molding, allow 8–12 inches of extension per side where possible, and verify actual closed coverage.
- Bedroom / nursery, sliding glass door: opaque heavyweight face fabric plus suitable blackout lining. Check the lining drop and any uncovered area against the glass; do not assume a fabric rating guarantees complete room blackout. Tell the designer it is a sliding door when requesting samples.
- Living room / study: linen + 90% Blockout Lining (210 gsm triple-weave polyester; see the lining guide for care and light-control details). Choose the light-control level to suit the room, including screen glare, afternoon sun and any need for darkness.
- Small or light-starved rooms: plan 8–12 inches of rod extension per side where space permits, choose a lighter linen or a sheer, and pair with an Extra-Long Curtain Rod; or run a Ceiling Curtain Track wall to wall and hide the small window inside a full wall of fabric. That's the most effective way to make a small window read large — see Curtains for Small Windows.
- Kitchen / bathroom / minimal sightlines: Linen Cordless Roller Shades, check the opening width, height and mounting depth using the separate shade measuring instructions. Curtain width rules do not apply to shades.
How to Measure Curtains: Frequently Asked Questions
How do I measure curtains if the rod is not installed?
Mark a feasible planning line, record the outside frame width and side-wall space, and plan 8–12 inches of extension per side where possible. Finalize the hardware before converting the planning drop to order length. See the wall-first method.
How much wider than the window should the rod be?
Our design starting point is 8–12 inches (about 20–30 cm) beyond each outside frame edge. Check stack-back and wall space. Blackout also requires checking the actual closed fabric position, returns and gaps; extension alone does not guarantee darkness.
Should I double the rod width for curtains?
For EaseEase pre-pleated, ripple-fold and French-style Ruffled Top orders, fullness is built in. Flat-width headers need a chosen multiplier: 1.5× is more tailored and 2× fuller. Confirm panel versus pair before dividing the total. See the width table.
Where do I start measuring curtain length?
Use the selected header’s specified fabric, carrier or rod reference. If you start from a ceiling or molding planning line, deduct the total offset to that reference and the chosen clearance once. If you measure directly from the correct reference, do not deduct the hardware again. See the length instructions.
Should curtains touch the floor?
That is a design choice. About ½ inch (1.27 cm) of clearance is our practical starting point; a kiss or longer finish needs more precise leveling. For a level hem that must clear the floor, use the shortest of three drops. Heavy lined curtains are less suited to puddling.
Why do blackout curtains leak light at the sides?
Inspect the actual closed coverage, fabric-to-wall gap, side returns, top and center meeting point. We start with 8–12 inches of side coverage where possible, but no fixed dimension guarantees complete blackout. See the coverage check.
Why can sliding-door curtains show light near the bottom?
In a short-lining construction, an area of face fabric may hang over glass without blackout lining behind it. The exact area depends on how the curtain is made. Check the lining drop and face-fabric opacity; see the workroom example and video.
Can I estimate an opacity percentage from a swatch?
No. A single-layer backlight test helps compare glow, bright patches and visible outlines, but it cannot determine a precise percentage. Use tested product specifications for ratings and confirm the intended lining construction.
What if my floor is uneven?
Record left, center and right drops. Use the shortest only when the aim is a level hem that clears the floor. Floor-kissing finishes may need a tailored adjustment. Compatible adjustable hooks help with small final corrections, not major measuring errors.
Should I add extra length for linen shrinkage?
Follow the selected fabric’s care and ordering instructions. Do not add a blanket percentage to a finished custom length. Ask whether the fabric is pretreated and which care method is recommended; see our linen shrinkage guide.
How do I measure a bay, corner or obstructed window?
Record each section, corner, obstruction and intended draw direction, then send a sketch and photos for design guidance. Standard straight-rod formulas may not fit a segmented or curved installation.
Ready to calculate and enter your order dimensions? Use the Curtain Measurement Finder, then check the selected product’s panel/pair and unit fields.