


No Drill Zebra Shades: Extra-Wide, Cordless & Gap‑Free
No Drill Zebra Shades: Extra-Wide, Cordless & Gap‑Free
Couldn't load pickup availability







 Premium fabric
 Effortless care
 Eco-friendly
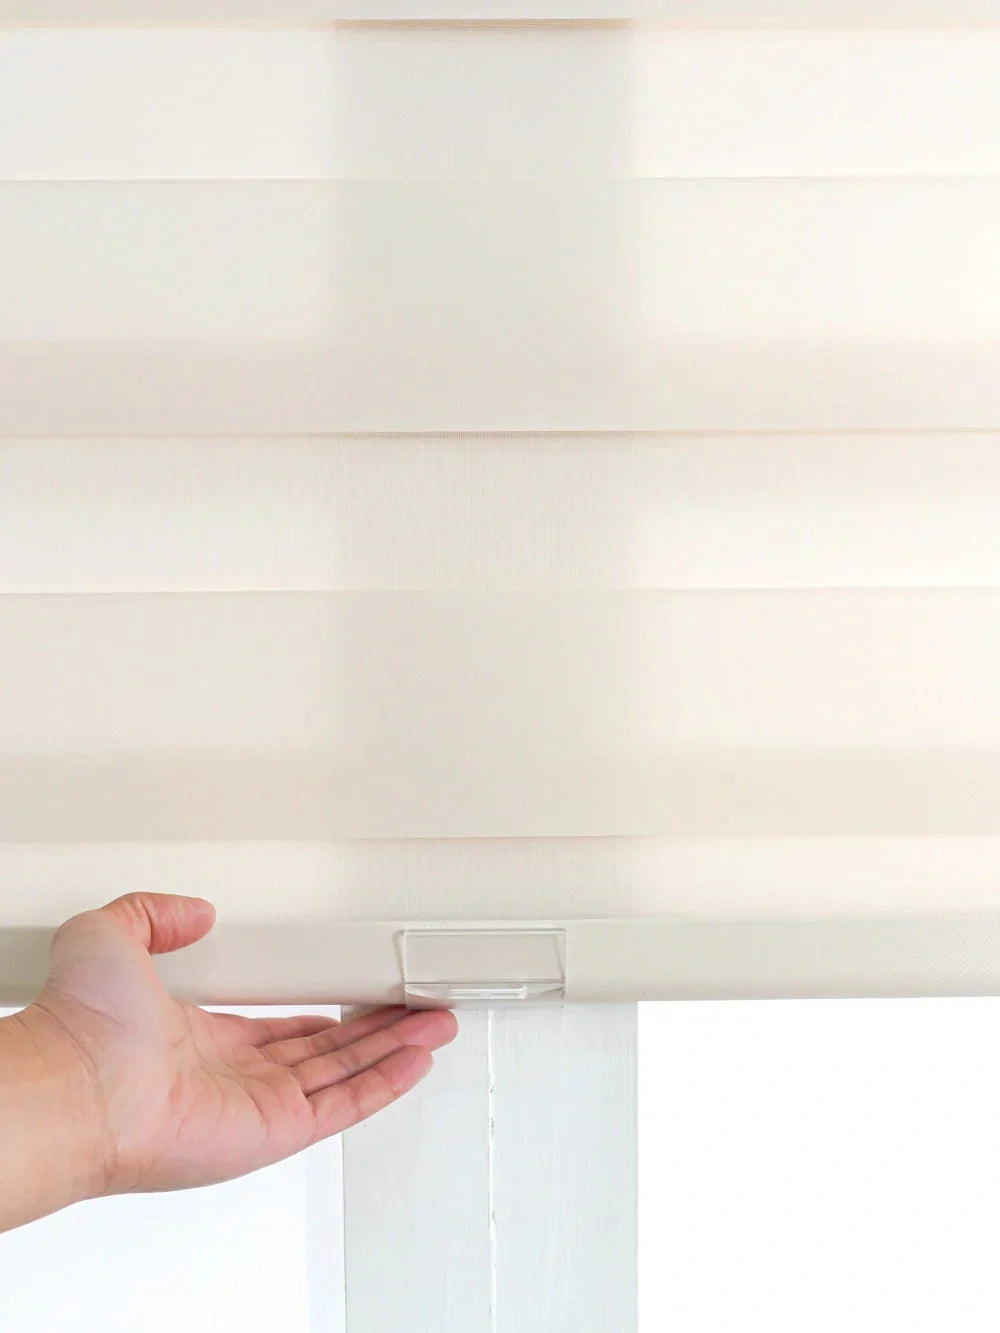
EaseEase No Drill Zebra Shades are dual-layer shades with alternating sheer and solid bands, designed for quick, damage-free installation without drilling, making them perfect for renters or anyone who wants a simple setup.
Key Advantages:
- Extra‑Wide Single Panel – Up to 70˝. Breaks the width limits of ordinary no drill zebra shades. One seamless panel covers windows up to 70 inches (approx. 1.78 m) wide—no awkward seams, no light gaps, just a clean, continuous look for large windows and sliding doors.
- Ultra‑Narrow Side Gaps. Sits flush against the wall with a minimal gap of just 0.6˝–0.8˝ . Dramatically reduces side‑light leakage, enhances privacy, and delivers a tidy, custom‑fit appearance.
- Upgraded No‑Drill Technology – Holds Firm, Won’t Shift. Features reinforced tension rods + high‑grip anti‑slip pads. Carries 30% more weight capacity than standard models. Once installed, it stays put—no sagging, no slipping, and zero wall damage.
- Cord‑Free Option Available – Kid & Pet Safe. A rare no‑drill + cord‑free design in the industry. Eliminates tangled cords for a cleaner look and added safety. Our no drill zebra shades are perfect for families with young children or pets.
Product Details
Measurements & Guarantee
Measurements & Guarantee
- No-drill shades support inside mount only.
- The width = window width − 3/16" or 0.16″
- The height = window height.
- Measured wrong? MeasureFit Guarantee — free remake if it doesn't fit.
- Get inspired from our Gallery
- Speak with an expert via text: +1(689)231 1581
Installation
Installation
- Our Window Shades and Blinds are designed for easy installation, making the process simple and stress-free. Whether you're a DIY enthusiast or installing blinds for the first time, our installation diagram and clear step-by-step guide will ensure a smooth setup. View How to Install Video
- We will provide an Allen key. Use it to tighten the opening at the top right corner of the headrail. If your model includes a cover, please reattach the cover after installation.
Care
Care
- Regular dust or vacuum.
- Mild spot clean.
- No machine wash/dry clean. View How to Clean Your Shades
Shipping & Returns
Shipping & Returns
- Free Shipping on Orders $300+
Made to order in 5–7 days, then delivered in 5–20 days by standard shipping (3–7 days express). Add Worry-Free Purchase at checkout to cover your package against delay, damage and loss.
View Shipping Policy - Made-to-Order, Made Right
Our mistake? Free remake. Your mistake? Covered by MeasureFit Guarantee — or a discounted remake without it.
View Return Policy
Notes
Notes
- Mount the Headrail and hang the shades to begin use. DO NOT manipulate the rear lifting mechanism; doing so will damage the product and cause it to malfunction.
- Note that the width deduction differs between the drill-mount and no-drill versions.


Our Revolutionary No-Drill Mounting Technology
-

Unshakable Hold
Ordinary drill-free types can be pulled off, but ours won't budge once installed. Our high-weight design safely supports wider shades up to 70″, whereas most others only support up to 46″ in width.
-

Nearly Flush, No Gaps
Others leave a large gap (up to 2”), causing light leaks. Our design sits tight with only 0.6“ gap for a clean look.
-

Smarter Design
- Cordless Option: safer & cleaner look.
- Invisible & Replaceable Cover: Detachable shell hides all marks and can be swapped if dirty.


Need Help Deciding? Get Our Free Swatches!
Make the right choice. Order swatches to compare materials and colors in your home. Test options at home. We dispatched it via express delivery on the very day of confirmation!

Measure Width and Length Correctly
- No-drill shades support inside mount only.
- The width = window width − 3/16“ or 0.16″
- The height = window height.
Easy Installation for 30s
-

Step 1
Press the end of the tension rod and insert it into the window frame. Also, make sure that it is parallel to the ground.
-

Step 2
To ensure a secure fit and proper support for the shade, tighten it using the hex key provided.
-

Step 3
Install the cover. Complete the installation!


